
 Vinyl wall decals are all the rage in the decor world right now, and rightly so. They are super cute, easier than painting, and you can pull them right off the wall without any damage.
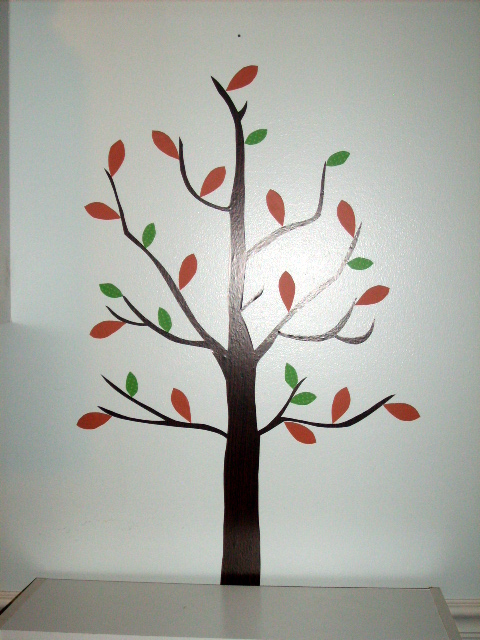
But with a price tag of $50 or more, it may seem that wall decals are meant only for the prosperous and affluent. But you can create the look of wall decals for a fraction of the cost of buying one. Here’s an easy way to create this tree decal, using one of my favorite friends… contact paper.
Supplies Needed:

- 2-3 colors of Contact Paper
- scissors
- pen/ marker
- tape measure/ruler
- small piece of cardboard (not pictured)
How-To
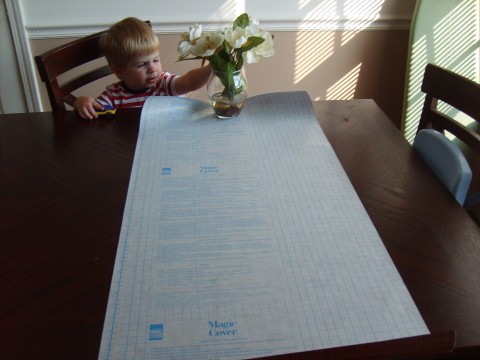
Step 1: Determine your desired size and cut the paper to fit. Lay paper on a hard flat surface, facing down.
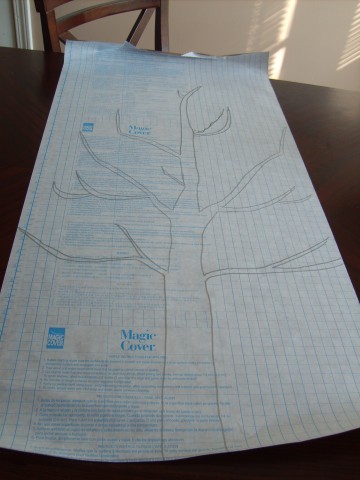
Step 2: Draw a free-hand pattern for your tree trunk. Cut out.
Step 3: Starting from the bottom, apply to wall, peeling off the backing about 3 to 4 inches at a time. Use a credit card to smooth onto wall.

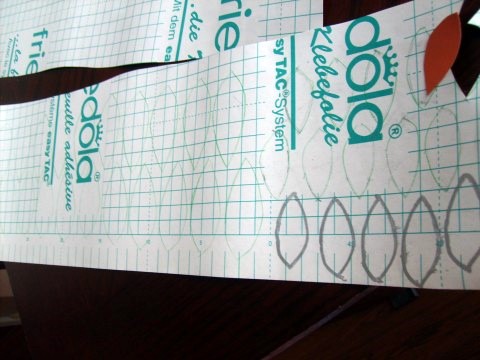
Step 4: Using a thin piece of cardboard, draw and cut out a template for your leaves, in two different sizes.
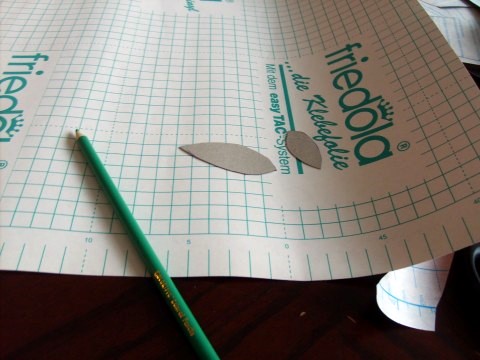
Step 5: Using your cardboard templates, trace pattern for leaves. For a two-tonal look, use one color of contact paper for your large leaves and another for your small leaves. Cut out.
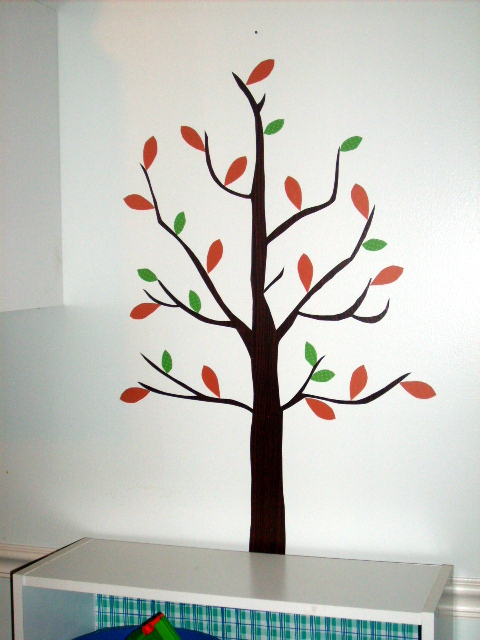
Step 6: Apply leaves to your liking, and you have just created your very own tree wall decal!
The basic principles used in this project can also be applied to make many other types of wall decals. Trees are certainly not the only design you can create. Stars, hearts, circles and clouds are all very easy to do. So take this idea and roll with it!

